


In the age of the internet, the right photos are the first step in enticing renters to lease. The photos you use to showcase your property on listing sites are not only the first impression of the property but also the first impression of the management of the property. Taking professionally staged photos (even if you are not a professional photographer) is one way to communicate to potential renters the level of quality they will receive in other dealings with your company.
You don’t have to be a professional photographer. Professional photo sets are ideal, but if you cannot hire a photographer in time or find one in your area that specializes in property photos, you can use these tips to take pictures of your listing yourself.
Use a Good Camera
Cell phone cameras are convenient but invest in a small digital camera for your photos. You don’t need an SLR camera, an inexpensive point and shoot digital will work just fine. The quality will show.
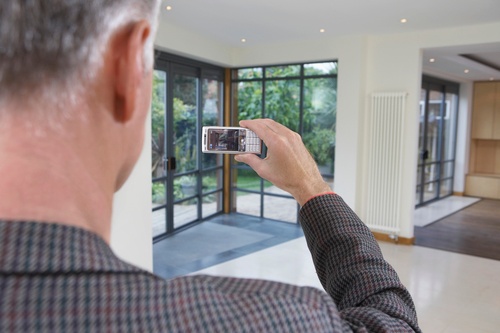
Don’t Photograph Yourself
Windows, mirrors, ultra-clean countertops and floors - all of these surfaces can capture your reflection in the photo. Do your best to avoid showing your reflection in the picture. It is distracting and looks unprofessional. You want your renter to be focused on the quality of your rental unit, not your reflection.
The same goes for parts of a finger or thumb in the way of a cell phone camera picture. Use a camera, not a cell phone for best results.
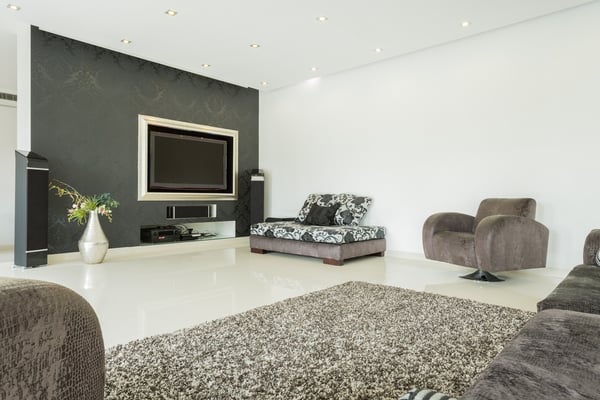
Lighting is Everything
The more light you let into each area, the better. Natural light is more attractive than flash, so open the windows and take interior photos on a bright sunny day. Take exterior photos on a day with partial sun, or that is slightly overcast to avoid harsh shadows.
Use Multiple Perspectives
Take images of each room or location from multiple perspectives. Renters want to get a good picture of the whole space when they are deciding which properties make the short list. If they come to tour the property, you won’t want them to be surprised because you left out specific areas, or have misleading photos, so using multiple perspectives will help give the whole picture.
Before You Post
Take the time to review and edit your photos. Crop out unnecessary pavement in the street, and select the best photos for listing that accurately portray your space. If you are relisting a property, be sure to take new photos of any elements that have had upgrades or changes since your last photo.
Nervous about taking photos and listing your property yourself? Consider partnering with a property management service to help you list and lease your property. You can also use our free Make-Ready Checklist to ensure your property is at its best best before you start taking pictures. Click the link below for your free download.
